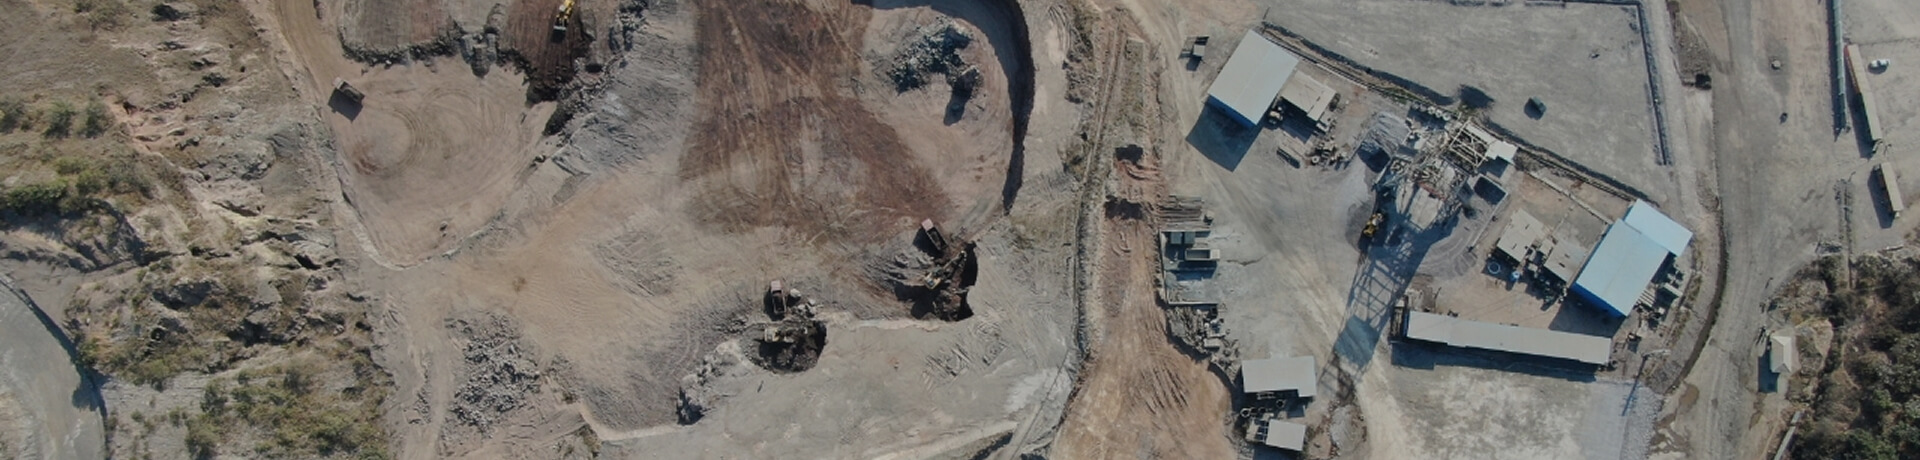
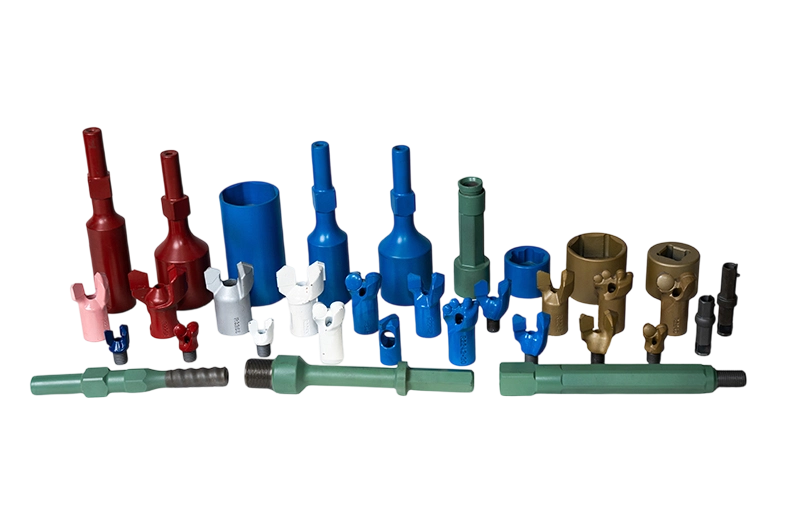
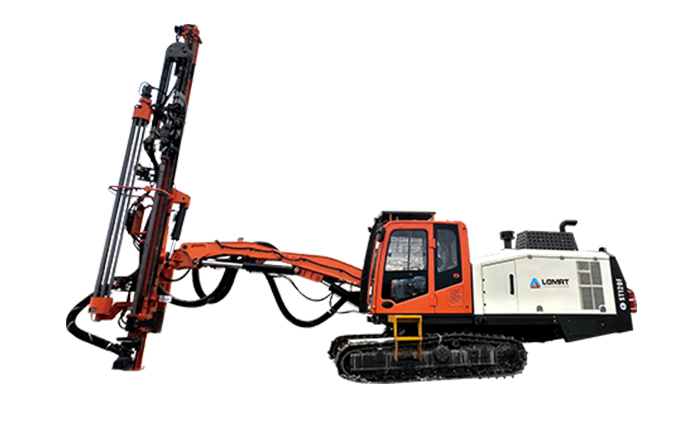
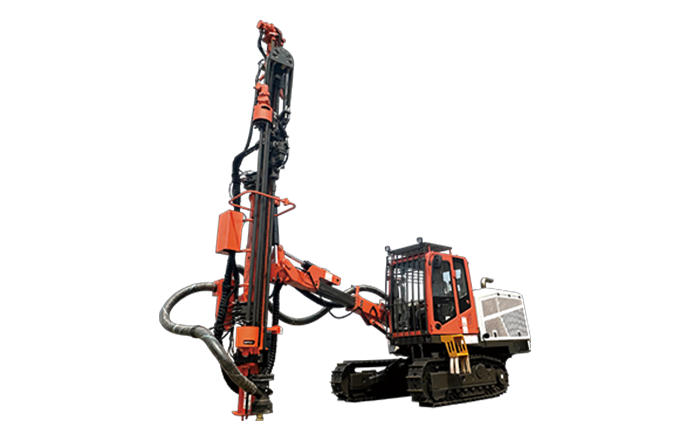
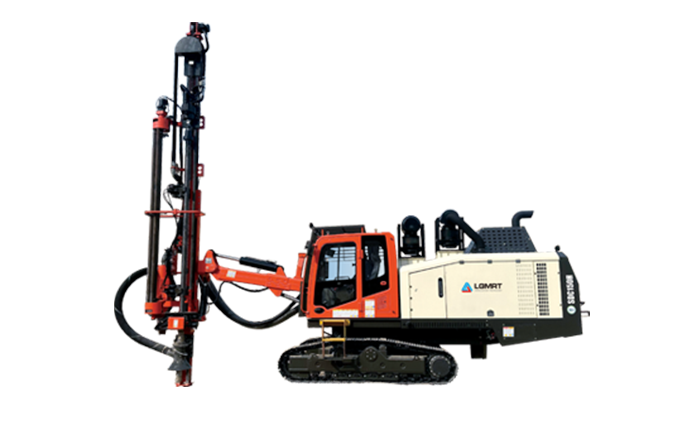
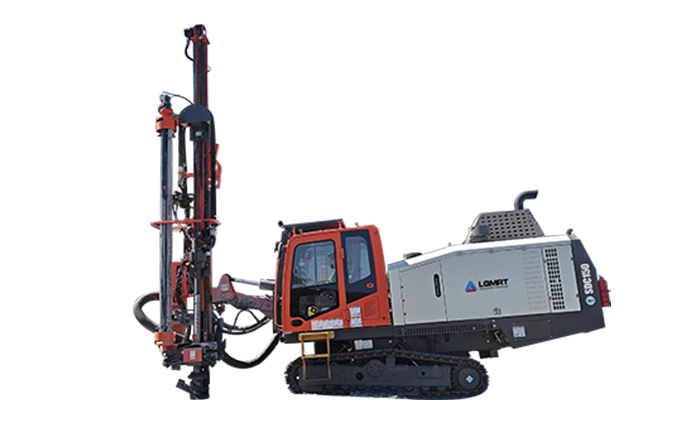
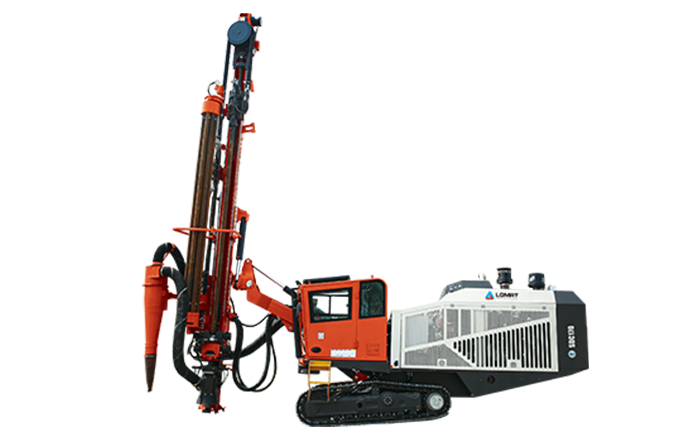
Choosing the right Rock Drilling Tools starts with the working environment, not the catalog. Surface mines require tools that handle long holes, high production rates, dust, and changing bench conditions. Underground mines require compact tools that deliver accurate drilling in restricted spaces while controlling vibration, water, heat, and ground instability.
This guide explains how to compare drilling applications, match tool specifications to rock conditions, calculate operating costs, and avoid common purchasing mistakes. Haichuang Unite provides drilling solutions for mining contractors, equipment distributors, and site operators that need dependable performance in both surface and underground operations.

1. Start by Defining the Mining Application
The same drill bit or drilling system cannot deliver the same results in every mine. The first purchasing decision should be based on the drilling task, equipment type, hole design, and working conditions.
Identify the Main Drilling Purpose
Clarify what the drilling tools must accomplish before comparing brands or prices. The required tool design will differ for production drilling, blasting, exploration, ground support, or water control.
- Production drilling for blast holes in open-pit benches.
- Development drilling for underground tunnels, ramps, crosscuts, and drifts.
- Long-hole drilling for underground stoping and ore extraction.
- Bolting and cable-bolting for roof and wall reinforcement.
- Exploration drilling for sampling and geological evaluation.
- Presplit and perimeter drilling for controlled blasting and wall stability.
- Drainage and dewatering drilling for groundwater management.
Record the Equipment and Connection Type
A tool must match the drilling machine and the complete drilling system. Confirm the machine model and the connection standard before requesting a quotation.
- Drill rig manufacturer and model.
- Drifter or rotary head type.
- Shank connection, thread type, and thread size.
- Rod diameter, rod length, and drilling depth.
- Available air pressure, water pressure, and flushing volume.
- Maximum rotation speed and torque.
- Impact frequency and impact energy for percussive drilling.
- Hole diameter range and required hole angle.
- Available space for tool changes and maintenance.
Separate Surface and Underground Requirements
Surface and underground mines create different stresses on Rock Drilling Tools. Surface operations usually prioritize high penetration and long service life, while underground operations place greater emphasis on compact design, accuracy, safety, and maneuverability.
| Requirement |
Surface Mining |
Underground Mining |
| Working space |
Open benches and large drilling platforms |
Restricted tunnels, stopes, and headings |
| Typical priority |
High production and long hole depth |
Accuracy, access, control, and flexibility |
| Dust and flushing |
Dry dust collection or high-volume air flushing |
Water flushing, dust suppression, and ventilation control |
| Tool loading |
Higher mechanical loads and long continuous cycles |
Frequent repositioning and variable drilling angles |
| Maintenance concern |
Wear from abrasive rock and long operating hours |
Access, downtime, contamination, and limited service space |
2. Match the Tool to Rock and Ground Conditions
Rock properties are among the strongest predictors of drilling performance. Selecting tools without testing the formation can result in slow penetration, premature wear, poor hole quality, and excessive operating cost.
Evaluate Rock Hardness and Abrasiveness
Hardness determines how much energy is required to break the rock. Abrasiveness determines how quickly the cutting structure, buttons, gauge, body, and threads will wear.
- Soft to medium rock may require sharper cutting structures and efficient chip removal.
- Hard rock usually requires stronger carbide grades, optimized button geometry, and stable impact transfer.
- Highly abrasive rock requires reinforced gauge protection and wear-resistant materials.
- Fractured rock requires a design that reduces jamming and tolerates uneven loading.
- Mixed formations require a balanced design rather than a tool optimized for one rock type only.
Ask the mine geologist or drilling supervisor for available information such as uniaxial compressive strength, rock quality designation, abrasivity, fracture frequency, mineral composition, and groundwater conditions.
Check Fractures, Faults, and Ground Instability
Broken ground changes the way a tool contacts the formation. It can cause hole deviation, excessive vibration, stuck rods, blocked flushing channels, and irregular hole walls.
- Use stable cutting structures when drilling through fractured formations.
- Use suitable flushing methods to remove loose cuttings from the hole.
- Consider guide devices or stabilizers when hole deviation is a major concern.
- Select threads and couplings that resist repeated bending loads.
- Use shorter drilling stages when long rods are difficult to control in broken ground.
Account for Water, Temperature, and Corrosion
Water affects flushing, hole cleaning, corrosion, and equipment reliability. Underground mines may also have high humidity, acidic drainage, and limited ventilation.
- Confirm whether the operation uses air flushing, water flushing, foam, or a combined method.
- Check whether the tool material and coating are suitable for corrosive water.
- Use reliable sealing and thread protection where water enters the drilling system.
- Increase inspection frequency in wet or chemically aggressive conditions.
- Verify that the tool design supports the site ventilation and dust-control plan.
3. Choose the Correct Tool Design for Surface Mining
Surface drilling commonly involves bench drilling, quarrying, overburden drilling, presplit drilling, and large-scale blasting. The tool must maintain penetration and hole quality during long production cycles.
Select Tools for Bench and Production Drilling
Open-pit production drilling often uses rotary, down-the-hole, or top-hammer systems. The appropriate choice depends on hole diameter, depth, rock strength, production target, and available compressor capacity.
- Use rotary drilling tools when large hole diameters and high thrust capacity are available.
- Use down-the-hole tools when consistent hole quality and efficient energy transfer are required at greater depths.
- Use top-hammer tools for flexible hole sizes, mobile rigs, and medium-depth applications.
- Select a bit diameter that matches the blast design and required stemming length.
- Use a robust gauge design for long abrasive drilling cycles.
- Confirm that the rod and coupling system can withstand the planned depth and torque.
Consider Presplit and Perimeter Drilling
Presplit holes require accuracy and consistent spacing rather than maximum penetration alone. An unsuitable bit can create oversized, wandering, or irregular holes that damage the final wall.
- Choose a tool that maintains a consistent hole diameter.
- Match the bit design to the planned hole spacing and angle.
- Use stabilizing components when deviation could affect the final wall.
- Monitor flushing so that cuttings do not change the effective hole diameter.
- Inspect the first drilling pattern before continuing full-scale production.
Plan for Dust, Noise, and Long Operating Cycles
Surface mines often operate for extended shifts and may experience heavy dust and vibration. Tool selection should include the complete operating system rather than the bit alone.
- Confirm compatibility with dust collection or wet drilling equipment.
- Use tool materials that tolerate continuous impact and heat generation.
- Inspect threads and carbide buttons at planned intervals.
- Keep spare tools available to prevent production delays.
- Track penetration rate and tool life by bench, formation, and operator.
4. Choose the Correct Tool Design for Underground Mining
Underground drilling requires equipment that can operate in narrow headings, around ventilation controls, and near unstable ground. Productivity matters, but safety, accuracy, and access often determine the best tool choice.
Select Tools for Face and Development Drilling
Face drilling requires accurate hole placement because the drilling pattern directly affects blasting, advance per round, overbreak, and profile quality.
- Choose compact tools that fit the available boom movement and tunnel width.
- Use a bit design that provides stable penetration at multiple drilling angles.
- Match the tool to the jumbo, bolter, or other underground drilling platform.
- Confirm that the rod length supports the required advance without unnecessary handling.
- Use suitable flushing to maintain clear holes in confined areas.
- Check the tool's effect on vibration and operator control.
Select Tools for Long-Hole Stoping
Long-hole drilling places strong demands on straightness, energy transfer, rod alignment, and hole cleaning. A small deviation can cause major changes in burden, spacing, and blasting results.
- Use a stable rod and coupling system for the planned hole depth.
- Select a gauge design that preserves hole diameter over the full length.
- Use suitable stabilizers where formation conditions create deviation.
- Confirm that the flushing system can remove cuttings throughout the hole.
- Measure hole deviation when blast accuracy and ore dilution are critical.
Select Tools for Roof Bolting and Ground Support
Roof-bolting and cable-bolting tools must deliver reliable holes for reinforcement systems. The tool should support the specified hole diameter, depth, angle, and installation method.
- Match the bit diameter to the bolt, resin cartridge, grout, or cable system.
- Use a tool that produces a clean hole for proper anchoring.
- Confirm compatibility with wet or dry drilling methods.
- Consider tool length and machine access in low-height areas.
- Inspect the hole wall and depth before installing support products.
5. Follow a Step-by-Step Rock Drilling Tool Selection Process
A structured selection process reduces purchasing risk and helps the buyer compare suppliers on measurable performance instead of price alone.
First Step: Define the Drilling Objective
Write down the exact task, including whether the tool will be used for production, development, exploration, blasting, perimeter control, or ground support.
- State the target hole diameter.
- State the target hole depth.
- State the required drilling angle and tolerance.
- State the required daily or monthly meterage.
- State the acceptable hole deviation.
Second Step: Collect Site and Rock Data
Gather drilling records and geological information before selecting the tool design.
- Rock hardness and abrasiveness.
- Fracture frequency and fault conditions.
- Presence of clay, quartz, sulfides, or other difficult minerals.
- Water inflow and flushing conditions.
- Average temperature and corrosion exposure.
- Previous tool life and failure records.
Third Step: Confirm Machine Compatibility
Provide the supplier with complete equipment information. A technically strong tool will still fail if the connection, pressure, torque, or impact requirements do not match the machine.
- Machine and drifter model.
- Shank adapter and thread specification.
- Rod size and coupling type.
- Air and water pressure.
- Rotation speed and torque.
- Impact energy and frequency.
- Maximum feed force.
Fourth Step: Compare Tool Configurations
Compare at least two or three suitable configurations instead of requesting only the lowest unit price. Review button shape, face design, gauge protection, body material, thread design, flushing holes, and connection strength.
- Compare penetration rate.
- Compare meters drilled per tool.
- Compare average tool life.
- Compare hole quality and deviation.
- Compare repairability and replacement time.
- Compare availability of spare parts and technical support.
Fifth Step: Run a Controlled Field Trial
Field testing is the most reliable way to validate a tool for a specific formation. Do not judge performance from one hole or one shift.
- Choose a representative drilling area.
- Use the same machine, operator, drilling parameters, and flushing method for each trial.
- Record penetration rate and drilling time for every hole.
- Measure tool wear after a defined number of meters.
- Record any thread damage, button loss, body cracking, jamming, or hole deviation.
- Calculate total cost per drilled meter.
- Repeat the trial in more than one rock zone if the formation changes.
Sixth Step: Calculate Total Cost per Meter
Unit price alone does not show the true cost of a drilling tool. A lower-priced tool may create higher costs through shorter life, slower drilling, more frequent changes, and increased downtime.
Use this basic calculation:
Total cost per meter = Tool purchase cost + labor cost + downtime cost + maintenance cost divided by meters drilled.
- Include the purchase price of bits, rods, shanks, couplings, and adapters.
- Include labor for tool changes and inspections.
- Include lost production during failures and replacement.
- Include energy, air, water, and flushing costs where relevant.
- Include freight, import charges, and inventory holding costs.
Seventh Step: Approve the Tool and Standardize the Specification
After testing, create a written specification for future orders. This prevents accidental substitutions and keeps performance consistent across shifts and mine locations.
- Approved tool model and part number.
- Connection and thread specification.
- Diameter and length tolerance.
- Material and carbide requirements.
- Approved drilling parameters.
- Inspection and rejection criteria.
- Packaging, labeling, and delivery requirements.
6. Prepare the Required Tools and Purchasing Checklist
Successful drilling depends on the complete tool string and the measurement equipment used to control performance. Purchasing only the bit can leave the operation with compatibility and maintenance problems.
Required Drilling Components
- Drill bits suitable for the rock formation.
- Drill rods in the required length and diameter.
- Couplings matched to the rod and thread system.
- Shank adapters compatible with the drifter or rotary head.
- Drill sleeves, stabilizers, or guide devices where required.
- Flushing accessories, seals, and water or air connectors.
- Thread grease and approved anti-seize products.
- Protective thread caps and storage racks.
- Spare bits, rods, couplings, and adapters.
Required Measurement and Inspection Tools
- Calipers for checking bit diameter and gauge wear.
- Thread gauges for verifying connection condition.
- Steel rules or depth tools for checking wear and hole depth.
- Pressure gauges for air and water systems.
- Torque measurement equipment where available.
- Penetration rate and drilling time records.
- Visual inspection forms for cracks, button loss, and thread damage.
- Hole deviation measurement equipment for precision drilling.
Supplier Questions to Ask Before Ordering
- Which rock conditions were used to validate the tool?
- What drilling parameters are recommended?
- What is the expected tool life in similar formations?
- How are quality and material consistency controlled?
- Can the supplier provide a field trial or technical recommendation?
- What is the normal production and delivery lead time?
- Are replacement parts and technical support available locally?
- What is the process for handling quality claims?
7. Avoid Common Rock Drilling Tool Selection and Operation Mistakes
Many drilling problems are caused by incorrect application, poor maintenance, or unsuitable operating parameters rather than by the tool design alone.
Mistake 1: Choosing Only by Purchase Price
The cheapest tool may have a higher cost per meter if it drills slowly or wears quickly. Always compare service life, penetration, downtime, and hole quality.
Mistake 2: Using One Tool for Every Formation
Soft, hard, abrasive, fractured, and mixed formations require different cutting structures and wear protection. Maintain separate approved specifications when the geology changes significantly.
Mistake 3: Ignoring Machine Parameters
Excessive feed force, incorrect rotation speed, unsuitable impact energy, or inadequate flushing can damage even a high-quality tool. Use supplier-recommended operating ranges and adjust them to actual site conditions.
Mistake 4: Continuing to Use a Worn Tool
A worn bit can reduce penetration, increase energy consumption, damage the rod string, and produce poor holes. Establish replacement limits based on gauge wear, button damage, body cracks, and drilling performance.
Mistake 5: Failing to Clean and Protect Threads
Dirty or damaged threads can cause incorrect make-up, cross-threading, loosening, and premature connection failure. Clean, inspect, lubricate, and cap every connection during storage and tool changes.
Mistake 6: Changing Several Variables at Once
When testing a new tool, do not change the bit, rod, pressure, operator, and drilling pattern simultaneously. Controlled trials make it possible to identify the real cause of performance changes.
Mistake 7: Neglecting Safety and Ground Conditions
Underground drilling must account for loose ground, water inflow, gas, ventilation, and restricted access. Surface drilling must account for bench edges, flyrock, dust, and machine stability. Follow the mine safety plan before starting any test or production cycle.
8. Build a Maintenance and Performance Monitoring Program
Correct maintenance extends tool life and gives the purchasing team reliable data for future orders. Every mine should track tool performance by machine, operator, formation, and drilling method.
Inspect Tools Before Each Shift
- Check the bit body for cracks, deformation, and excessive wear.
- Check carbide buttons or cutting elements for loss and damage.
- Measure the gauge diameter when hole accuracy is important.
- Inspect rods for bending, thread damage, and corrosion.
- Check couplings and shank adapters for wear and deformation.
- Confirm that flushing holes are open.
- Verify that thread protection and lubrication are adequate.
Monitor Drilling Performance During Operation
- Record penetration rate for each hole.
- Record rotation speed, feed force, impact pressure, and flushing pressure.
- Note unusual vibration, noise, heat, or loss of penetration.
- Check whether cuttings are returning properly.
- Stop drilling if the tool becomes stuck or the rod string shows abnormal movement.
Review Tool Performance After Removal
When a tool is removed, record the reason and condition. A tool that is replaced because of normal wear should be evaluated differently from a tool that fails through cracking, thread damage, or button loss.
- Normal wear and remaining service life.
- Gauge wear and hole diameter reduction.
- Carbide button breakage or loss.
- Body cracking or erosion.
- Thread galling, deformation, or stripping.
- Flushing blockage.
- Actual meters drilled and total operating hours.
9. Make the Final Purchasing Decision with a Practical Scorecard
A scorecard helps the purchasing group balance technical performance, supply reliability, and total ownership cost. It also creates a clear record for approving a supplier or changing an existing specification.
Use Technical Performance Criteria
- Penetration rate: 20 percent.
- Meters drilled per tool: 20 percent.
- Hole accuracy and deviation: 15 percent.
- Compatibility with existing equipment: 15 percent.
- Resistance to wear and impact damage: 10 percent.
Use Commercial and Service Criteria
- Cost per drilled meter: 10 percent.
- Delivery reliability: 5 percent.
- Technical support and field trial capability: 3 percent.
- Warranty and quality response: 2 percent.
The weighting can be adjusted for the mine's priorities. A high-production surface mine may assign more weight to meters per tool and penetration rate. An underground development project may assign more weight to hole accuracy, compact compatibility, safety, and technical support.
Confirm the Final Specification Before Purchase
Before issuing a purchase order, confirm every technical and commercial detail in writing.
- Tool type and application.
- Bit diameter and design.
- Thread and connection specification.
- Compatible machine model.
- Rock formation and recommended parameters.
- Quantity and spare inventory.
- Inspection and acceptance requirements.
- Packaging and delivery schedule.
- Warranty and replacement procedure.
Conclusion: Select Rock Drilling Tools by Application, Data, and Total Cost
The right Rock Drilling Tools for surface or underground mining must match the drilling objective, machine, rock formation, hole design, flushing system, and production target. Begin with site data, compare complete tool systems, conduct a controlled field trial, calculate cost per meter, and standardize the approved specification.
Surface mining generally favors high-production tools with strong wear resistance and long operating life. Underground mining generally requires compact, accurate, flexible tools that perform reliably in confined and variable ground conditions. By combining technical testing with supplier support, purchasing teams can reduce downtime, improve blast results, and control the long-term cost of drilling operations.
Haichuang Unite supports mining customers with application-focused Rock Drilling Tools and technical recommendations for demanding surface and underground projects.